Share This Page:
Step by Step: Video
Step by Step: Summary
How to Wrap a Gift
- Prepare the Workspace
– Clear a flat, stable surface like a table or countertop.
– Place your gift, wrapping paper, scissors, and tape within reach. - Measure and Cut the Paper
– Roll out the wrapping paper and place your gift on top of the unwrapped side.
– Rotate the gift so its longest side is parallel with the edge of the paper. This minimizes waste.
– Lift the paper up to the sides of the gift to ensure it can cover both the sides and about half the height of the gift.
– Mark the spot where the paper fully covers the other side and cut straight across.
– Now, rotate your gift so one of its shorter sides faces you. Measure the paper, ensuring it covers the full length of this side, plus a little extra.
– Trim excess length if necessary. - Wrap the Gift
– Place the gift face-down on the paper, ensuring the paper covers the item evenly on all sides.
– Fold one side of the paper over the gift and secure it with a piece of tape.
– Now fold the other side of the paper, making a neat fold at the edge for a clean look, and tape it down. - Fold the Ends
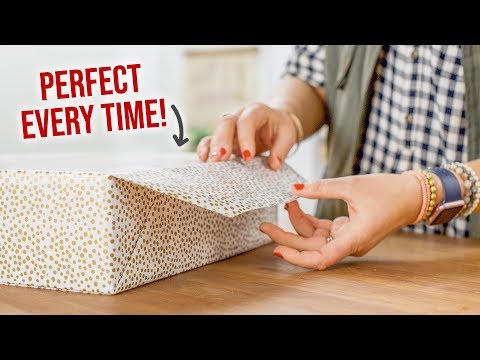
– At one open end, push the top edge down, creating two diagonal creases on either side. This will form two triangular flaps.
– Fold in the two triangular sides, making sure the edges are neat and sharp. You’ll be left with a flap at the bottom.
– Fold this bottom flap upwards and secure it with tape.
– Repeat on the other end. - Add Decorations (optional):
– To add a ribbon, lay the gift face-up and wrap the ribbon around the length of the gift, twisting it at the bottom center and then wrapping it around the width. – Tie it into a bow on top.
– Add a pre-made bow or any other decorations on top of the gift.
– If you have a gift tag, attach it to the ribbon or tape it onto the gift. - Inspect Your Work
– Check all the edges and corners to ensure they’re neat and everything is securely taped.
– If any part of the gift is visible, you can cover it with extra paper or use a decorative sticker.
